RV & Motorhome how-to
How to winterize a Class A motorhome
Winterize your Class A motorhome with a real 27-step Tiffin Allegro Red example. Covers RV antifreeze, plumbing, ice makers, batteries and winter storage.
Published
Water expands about 9 percent when it freezes. In a motorhome, that means split PEX fittings behind cabinets, a cracked water heater, a ruined ice maker valve, and a spring hookup that sprays water somewhere you can’t see. Winterizing takes a morning. Repairing a freeze can take the season.
This guide covers winterizing any Class A motorhome, gas or diesel. First comes the process every coach follows. Then comes a real worked example: the exact 27 steps we use on a 2020 Tiffin Allegro Red 33AA. Last is what changes when your coach has a tank water heater, an Aqua-Hot, a gas chassis or lead-acid batteries.
Valve locations, the water heater and the pump fittings change by make, model and year, so read your owner’s manual alongside this guide.
On this page: What you need · The process · Our 27 steps · Mistakes to avoid · Other Class A coaches · Beyond the plumbing · FAQ
What you need
- Pink RV antifreeze labeled for potable (drinking) water systems, never automotive antifreeze. The common -50°F rating is burst protection, not the temperature where it starts to freeze. Most coaches take several gallons; the FAQ explains how much.
- An air compressor with a regulator, and a blow-out adapter (a garden-hose fitting to a 1/4” air fitting) with a shut-off valve. It blows the water out of the lines and the water heater, which the antifreeze bypasses.
- A short hose to draw antifreeze into the water pump inlet, unless your coach has a built-in winterizing valve and siphon tube.
- Towels and a shallow pan for the fittings you open.
- A smart battery maintainer (a float charger) for the chassis batteries.
The process, on any Class A
Coaches differ in the details, and your owner’s manual and appliance manuals come first. This is the order we follow, and most Class A coaches run in roughly the same order:
- Empty the tanks. Dump and flush the black and gray tanks, and drain the fresh water tank.
- Drain the lines. Open the low-point drains, and remove the cartridge from the whole-house water filter if your coach has one.
- Empty the water heater. Turn off a tank heater, let it cool and drain it, or blow out a tankless one if its manual allows compressed air. Then set the bypass, if your heater uses one, so the antifreeze doesn’t fill it.
- Pump in antifreeze. Draw pink antifreeze in at the water pump and run every faucet, hot and cold, until it comes out pink. That includes the shower, the toilet and the outside fixtures.
- Get the appliances. The washer, dishwasher, ice maker and any water dispenser each hold water of their own.
- Protect the drains. Pour antifreeze into every drain trap, and leave some in the toilet bowl.
- Close up. Bring in the slides and raise the jacks.
- Store the batteries. Charge, disconnect and maintain the house and chassis batteries the way their chemistry needs.
How we winterize our 2020 Tiffin Allegro Red 33AA: 27 real steps
This is the procedure we use on our own coach, a 35-foot diesel pusher on a Freightliner XC-M chassis. It has a Truma AquaGo tankless water heater, a washing machine, a refrigerator with an ice maker, four slides, and lithium house batteries. The 27 steps below are the ones we keep in the coach’s Wrench Wise™ guide, numbered the same way. They come from last winter’s run, with this year’s fixes added.
Shut down and empty the tanks
- Turn off the water pump and the Truma AquaGo water heater at the control panel inside the coach.
- Drain the black water tank. Run water into the tank until the output from the black tank runs clear. Let it drain completely before closing the valve.
- Drain the gray water tank. Once it is empty, close the valve, turn on the water pump, add 5 to 10 gallons of water from the fresh water tank to the gray tank, and turn off the water pump. Then drain the tank again for a second flush. Drain it completely and close the valve.
- In the wet bay, open the fresh water valve and drain the fresh water tank completely.
Drain the lines and set the valves
- Open the hot and cold low-point drains on the left side of the wet bay and drain all the water. When they are fully drained, close the valves.
- Drain the whole-house water filter on the right side of the wet bay. Remove the filter and throw it away, then put the empty filter case back on.
- In the wet bay, set the right valve to city water and the left valve to regular (water flows through the water heater). Make sure the water pump switch is off.
Tip: Photograph every valve in the wet bay the first time you winterize, in both positions. Next fall you won’t be guessing which way is bypass, and in spring the photos tell you how to put it all back.
Blow out the water heater
Draining doesn’t empty a tankless water heater completely, and the antifreeze will bypass it. Any water left inside sits there all winter, so blow it out with air first.
- Open the Truma AquaGo cover and turn off its power. Release the pressure with the pressure relief valve, open the yellow handle on the left, and remove the filter. Store the filter for the winter.
- Hook up the compressor to the city water connection. Keep the pressure at 20 PSI or less; higher pressure can damage the RV water system. Close the valve on the blow-out hose before you connect it.
- Blow out the remaining water from the Truma. Close the yellow handle with the filter removed, and replace the cover.
- Unhook the compressor. Set the wet bay valve to bypass the water heater.
Pump antifreeze through the system
- Disconnect the inlet side of the water pump. On this coach the inlet is the PEX connection on the right side, behind the small filter (some videos show a different fitting). Connect the hose that draws antifreeze into the pump, and put the other end in a jug of pink antifreeze.
- Turn on the water pump and let the antifreeze pressurize the system. This takes 1 to 2 gallons.
- Inside the coach, open each faucet on cold and then hot until pink fluid comes out steadily: the kitchen faucet, the bathroom faucet, the shower and the toilet. Make sure plenty of antifreeze is left in the toilet bowl.
- Outside, open the outdoor shower on cold and hot until pink fluid comes out steadily. Do the same at the exterior wash-down hose connection, then close them.
- Start the washing machine on a warm wash cycle, which draws both hot and cold water. Antifreeze shows up in the tub after 5 minutes or more, and this can take another 1 to 2 gallons. Stop the wash cycle and run a drain cycle. Once it has drained, turn off the washing machine at its circuit breaker.
Winterize the refrigerator and ice maker
The refrigerator’s water line and ice maker hold water that the faucets never reach. On this coach, the water line connects behind the refrigerator’s exterior access panel.
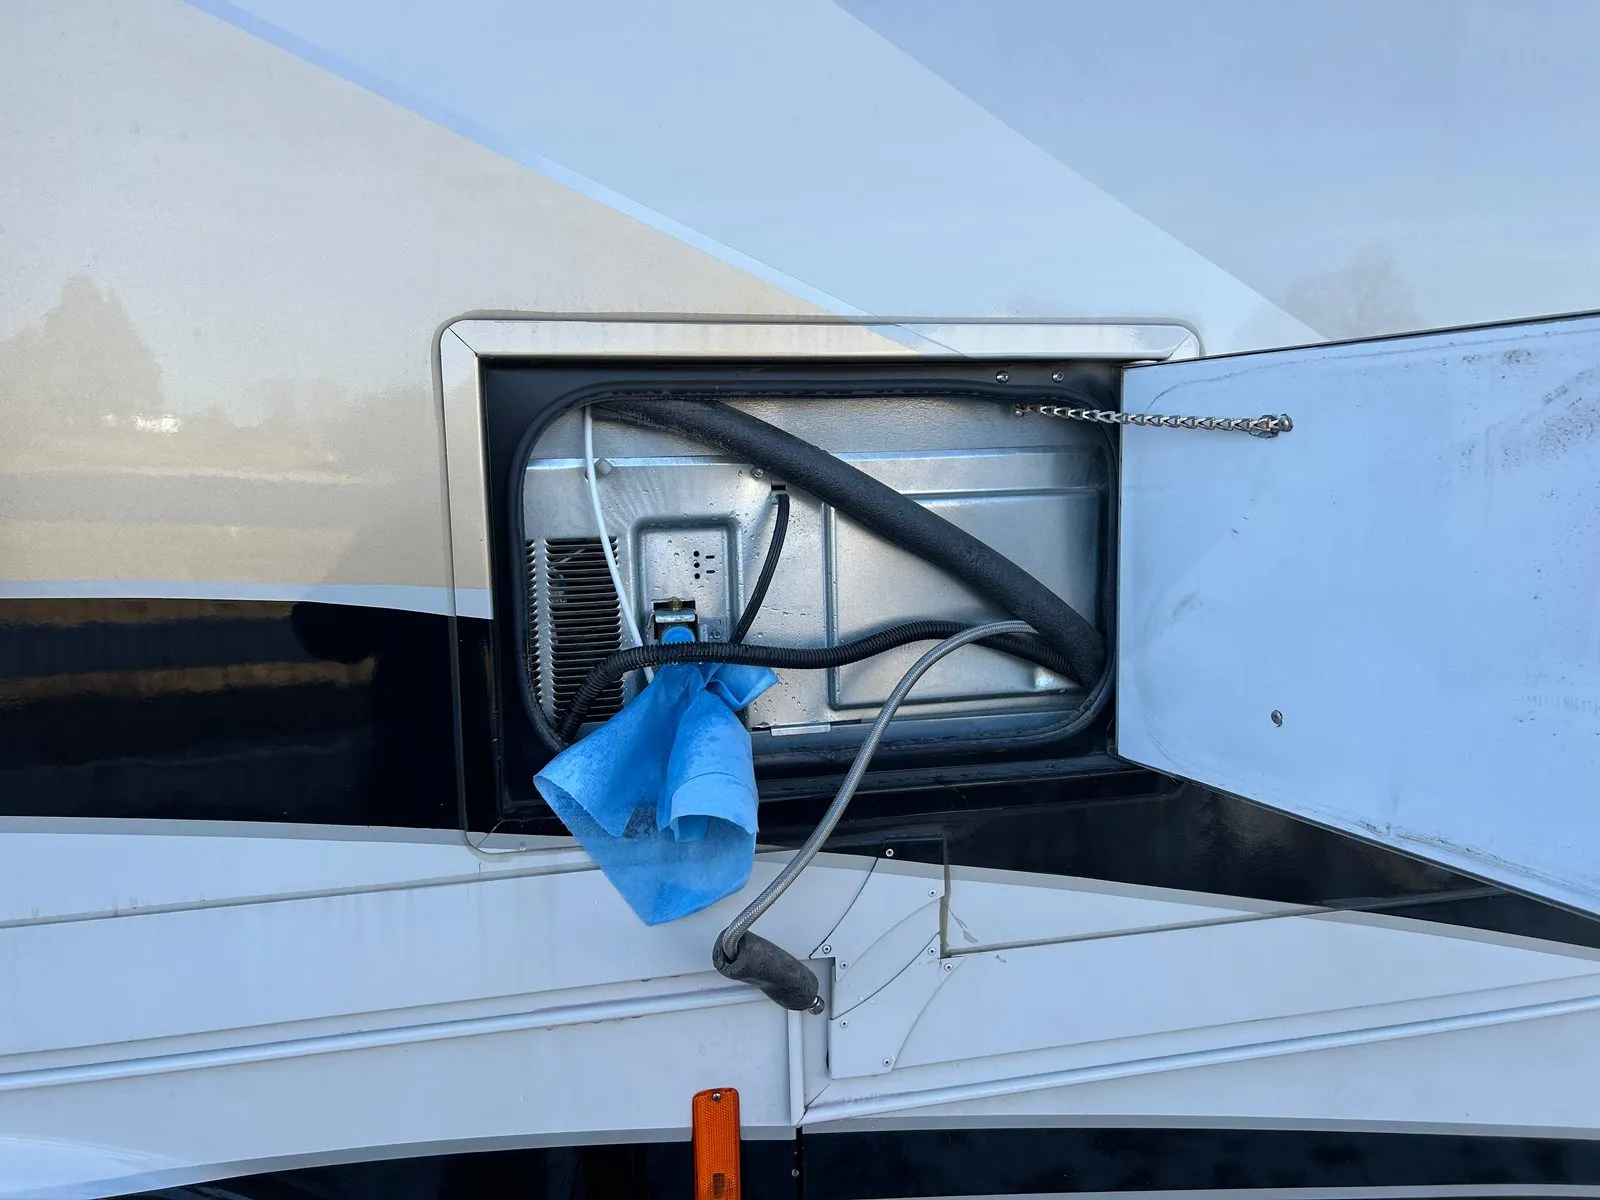
Our coach’s refrigerator access panel, opened from outside, with the water line disconnected (step 17). The towel catches the drips.
- Turn off the water pump. Open the door to the back of the refrigerator and disconnect the water line. Turn on the water pump and push antifreeze through the line until pink fluid comes out. Turn off the water pump and reconnect the water line.
- Turn the water pump back on and start the ice maker. Let it run a couple of cycles while antifreeze is still feeding the system, until you see pink ice. Then shut off the ice maker and turn off the water pump.
- Empty the pink ice from the ice bin. Turn off the refrigerator at its circuit breaker inside the coach.
Tip: Pink ice is your proof. If the cubes come out clear, the antifreeze hasn’t reached the ice maker yet, so let it run another cycle.
Protect the drains and close up
- Pour 1 cup of antifreeze into each drain: both kitchen sink drains, the bathroom sink and the shower. The toilet bowl should already hold antifreeze.
- Disconnect the antifreeze hose from the water pump in the wet bay and reconnect the regular water line. Close up the wet bay.
- Bring in all the slides and raise the leveling jacks.
Batteries for storage
- Open the main storage bay on the driver’s side. On its forward wall are two switches that disconnect the house batteries and the inverter. Make sure the lithium batteries are charged to about 50 to 60 percent for storage (if they are lower, charge them before you continue), then disconnect the house batteries and the inverter.
- Open the chassis battery compartment and disconnect the chassis batteries.
- Open the lithium house battery compartment and turn off both battery switches at the battery terminals.
- Connect a smart battery maintainer to the chassis batteries and leave it on all winter. A plain trickle charger can overcharge them over months.
- Check the batteries every 6 to 8 weeks. If they are discharging, charge them so they don’t shut down completely.
These 27 steps live in the coach’s guide in Wrench Wise™, so next fall nobody has to remember them. Keep your own coach’s version the same way.
Mistakes to avoid
- Too much air pressure. Keep the compressor at 20 PSI or less. Higher pressure can split fittings and lines.
- Turning off the refrigerator too early. The ice maker needs power to cycle, so the refrigerator goes off last, after the pink ice.
- Forgetting the outside fixtures. The outdoor shower and the wash-down connection hold water too.
- Skipping the water heater bypass. Without it, antifreeze fills the heater instead of the lines.
- Storing batteries and forgetting them. A dead lithium bank can shut itself down, and a dead chassis battery means no spring start.
How it changes on other Class A coaches
The order of the work stays the same; the equipment is what changes. Here is what to adjust if your coach is set up differently from the Tiffin.
A tank water heater instead of tankless
Many coaches have a tank heater, usually 6 to 10 gallons, instead of a tankless unit like the Truma. Turn it off and let it cool, open the pressure relief valve to let air in, and drain it from the outside drain plug. A Suburban heater has a steel tank with an anode rod in the drain opening, so inspect the rod and replace it if it is mostly eaten away. An Atwood (now Dometic) tank is aluminum, with a plain plug and no anode. Then set the bypass valves, which are usually behind an access panel inside the coach near the heater.
Aqua-Hot or other hydronic heat
Many higher-end diesel pushers heat the coach and the water with an Aqua-Hot boiler instead of a separate water heater. The boiler’s heating loop is already filled with its own antifreeze, so leave it alone. The domestic hot water coil that runs through the boiler is part of your fresh water system, Fill it with RV antifreeze, as the Aqua-Hot manual directs; air alone can leave water in the coil’s low spots.
A built-in winterizing valve at the pump
Many coaches have a winterizing valve and a short siphon tube next to the water pump. If yours does, skip disconnecting the pump inlet (step 12): turn the valve, drop the tube into the jug, and pump.
Gas chassis vs. diesel pusher
The plumbing is the same. The chassis prep differs:
- Gas (such as the Ford F-53): fill the fuel tank, add a fuel stabilizer, and run the engine long enough to carry it through the fuel system.
- Diesel: fill the tank to limit condensation, and follow your chassis and engine maker’s fuel-storage advice. Use a stabilizer or a biocide only where it suits your fuel and equipment. Diesel exhaust fluid can freeze (around 12°F). The system is built for that, so never add anything to the DEF tank.
A different refrigerator or ice maker
Ice makers vary. On some refrigerators the maker’s manual calls for blowing the ice maker line out with air instead of using antifreeze, so check the manual for yours. A residential refrigerator with a water dispenser in the door has one more line to fill. Remove or bypass its in-line water filter first, then press the dispenser until pink comes out.
A dishwasher, a second bathroom or an outdoor kitchen
Every fixture holds water. A dishwasher needs its own short cycle with antifreeze in the lines, following its manual. A bath-and-a-half coach has a second toilet and sink, and an outdoor kitchen adds a faucet and sometimes an ice maker. Each one needs pink fluid, so buy extra antifreeze.
Lead-acid house batteries
The 50 to 60 percent storage charge in step 23 is what this coach’s lithium batteries use; the right storage charge and the lowest safe charging temperature vary by lithium maker and battery management system, from about 50 percent to fully charged, so follow yours. Don’t charge lithium below freezing unless the battery has low-temperature charge protection or a heater. Flooded and AGM lead-acid batteries should go into storage fully charged and stay on a smart battery maintainer, because a partly charged lead-acid battery sulfates and can freeze. Check the water level in flooded batteries before you leave them.
Beyond the plumbing
The water system is the part that freezes, but a coach sitting for months needs a few more things:
- Refrigerator doors: once it is off, empty it, wipe it dry, and prop the doors open so it doesn’t grow mold.
- Pantry: take out all food and anything that can freeze and burst, like canned drinks.
- Rodents: seal gaps where pipes and wires come through the floor, and check the bays before you leave.
- Generator: prepare it the way its manual says, including fuel treatment and running it under load at intervals during storage. Many motorhome generators draw from the main fuel tank, so the chassis fuel prep above may already cover the fuel.
- In spring: don’t drink the water or use the ice until you have flushed the antifreeze out of every line, sanitized the fresh water system, and thrown out the first few batches of ice.
- Engine coolant: test its freeze protection with a refractometer or test strips.
- Propane: close the valve at the tank.
- Tires: set them to the pressure on your load chart and cover them from the sun.
Keep the procedure with the coach in Wrench Wise™
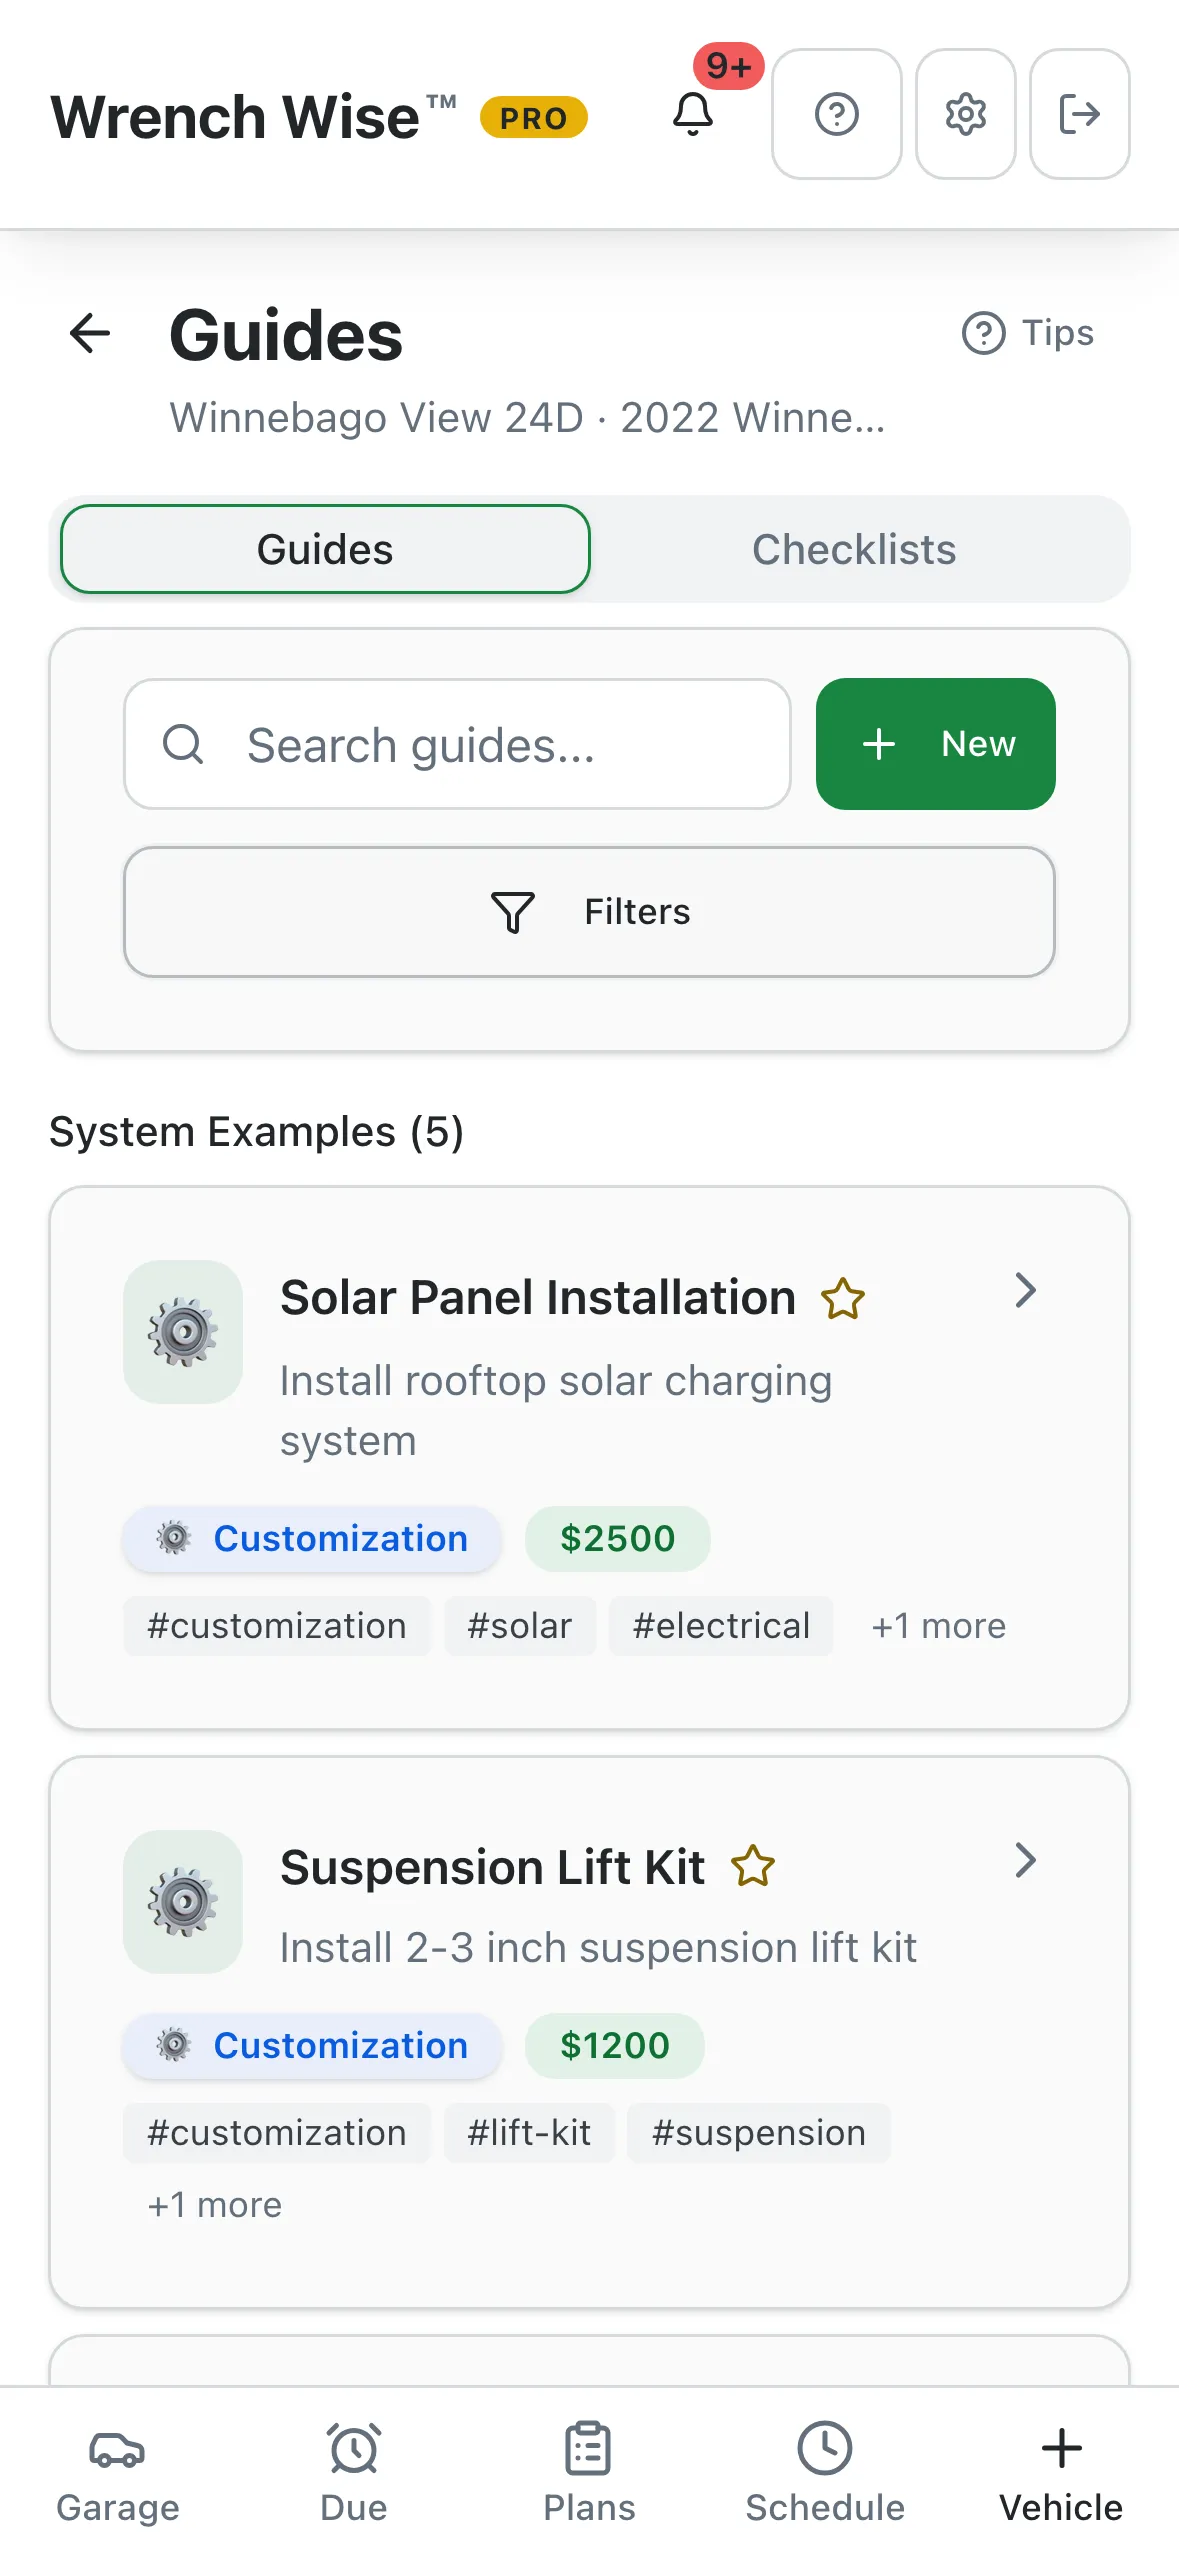
We keep this procedure as a guide on the coach in Wrench Wise™, and that is where the steps above came from. Each step can hold photos, like the refrigerator panel above, and a guide can link to videos too. Every fix you learn the hard way goes into the guide, so next fall you start from this year’s notes instead of from memory. Guides work offline, so the steps are on your phone in the storage lot even with no signal.
- Guides: write your own step by step with photos and video links, or start from the built-in RV Winterization example.
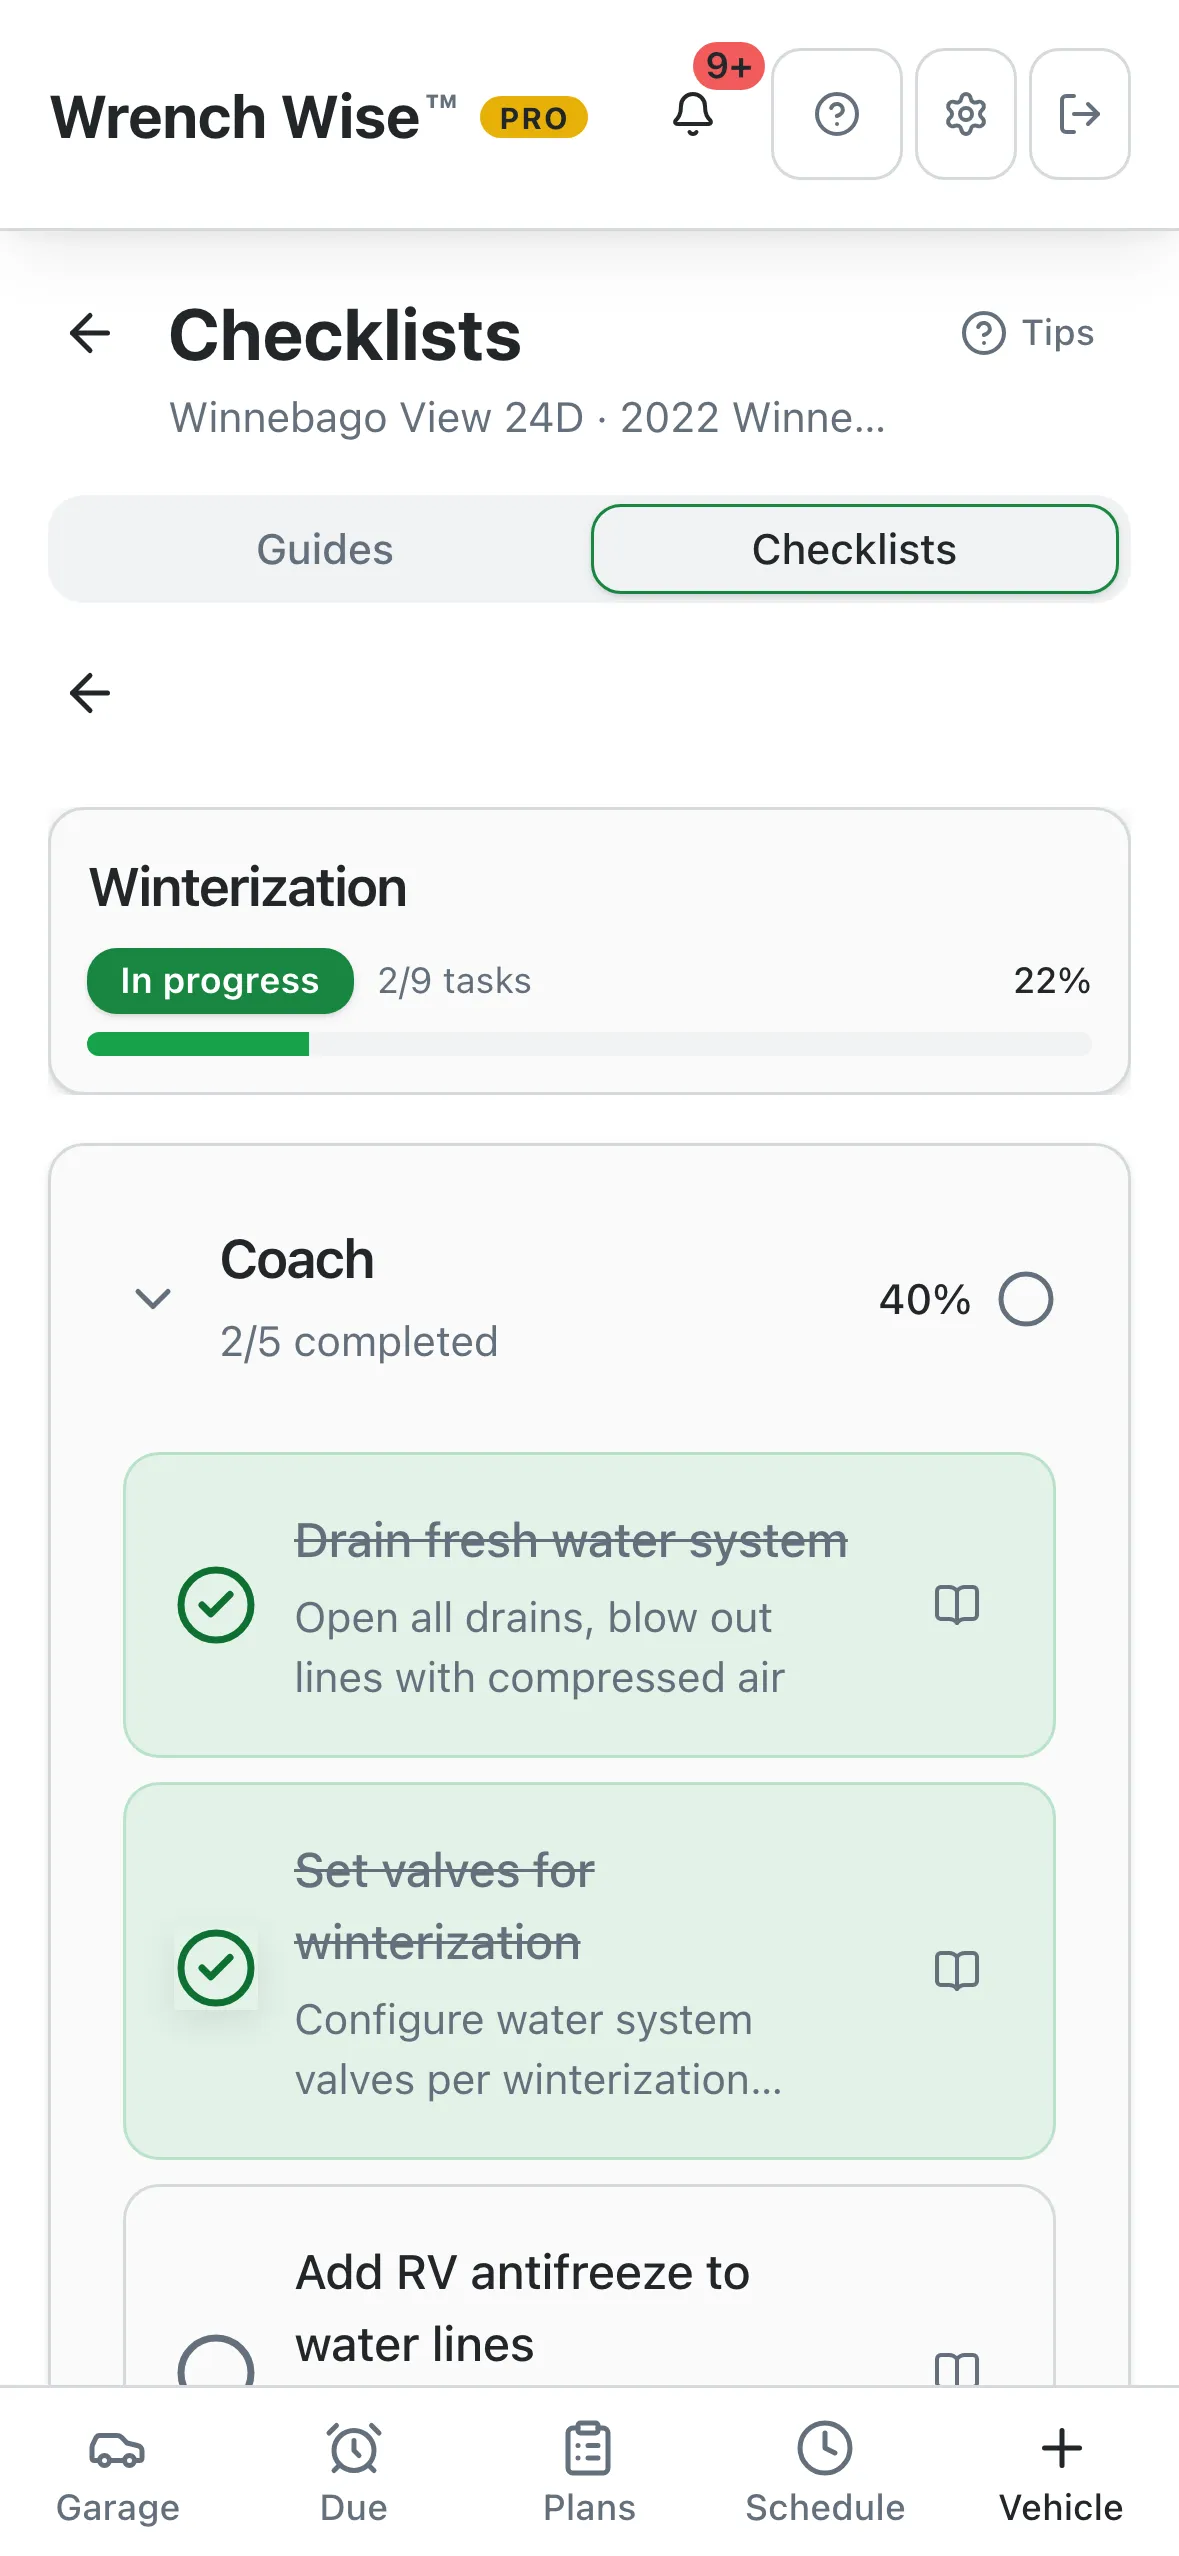
- Seasonal checklists: start an into-storage checklist for your RV and tick off each system as you go, so you can stop halfway through and pick up where you left off.
- One tap away: link the guide to a checklist task or a schedule item, and the steps open from there.
Guides and seasonal checklists are free, with no account needed.
Wrench Wise™ is not affiliated with Tiffin Motorhomes, Truma or Dometic. This guide describes one owner’s coach; your owner’s manual is the authority for yours.